
### How to Use a Poly Mailer: A Comprehensive Guide
In the world of shipping and packaging, poly mailers have become a popular choice for businesses and individuals alike. These lightweight, durable, and waterproof bags are perfect for sending a variety of items, from clothing to small electronics. If you’re new to using poly mailers or simply want to refine your shipping process, this guide will walk you through how to use poly mailers effectively.
#### What is a Poly Mailer?
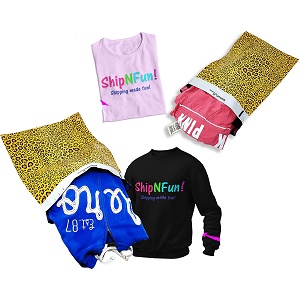
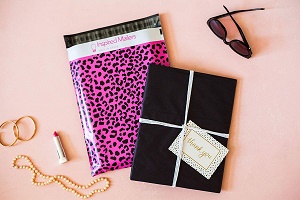
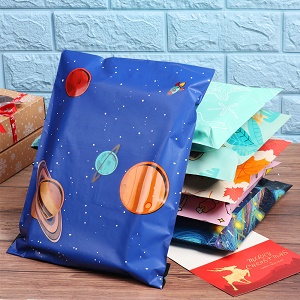
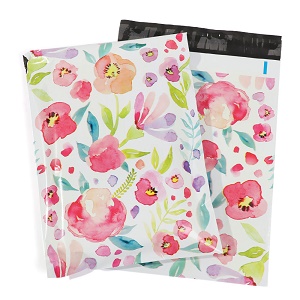
A poly mailer is a type of shipping bag made from polyethylene, a strong and flexible plastic material. They are designed to be lightweight, which helps reduce shipping costs, and are often used for non-fragile items. Poly mailers come in various sizes and colors, making them versatile for different shipping needs. Their waterproof nature also protects contents from moisture, ensuring that your items arrive in pristine condition.
#### Step-by-Step Guide on How to Use a Poly Mailer
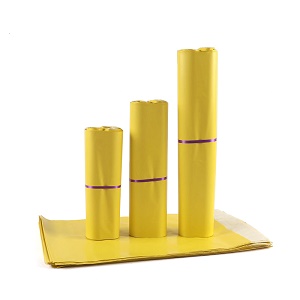
1. **Choose the Right Size**: Before you start packing, it’s essential to select the appropriate size of poly mailer for your items. Measure your products and choose a mailer that provides enough space without being excessively large. This not only saves on shipping costs but also minimizes the risk of items shifting during transit.

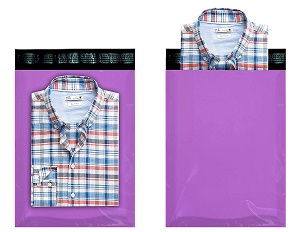
2. **Prepare Your Items**: Ensure that the items you are shipping are clean and in good condition. If you are sending clothing, consider folding them neatly to maximize space and minimize wrinkles. For fragile items, it’s advisable to wrap them in bubble wrap or tissue paper for added protection.
3. **Insert Items into the Poly Mailer**: Open the poly mailer and carefully place your items inside. If you are shipping multiple items, arrange them in a way that prevents movement. For example, place heavier items at the bottom and lighter ones on top.
4. **Seal the Mailer**: Most poly mailers come with a self-adhesive strip that makes sealing easy. Once your items are securely inside, remove the protective strip and press down firmly to seal the mailer. Ensure that the seal is tight to prevent any items from falling out during transit.

5. **Label Your Package**: After sealing the poly mailer, it’s time to label your package. Use a clear shipping label that includes the recipient’s name, address, and any other necessary information. Make sure the label is affixed securely to the mailer and is legible. If you’re using a printed label, ensure that it is waterproof or protected from moisture.
6. **Drop Off or Schedule a Pickup**: Once your poly mailer is ready, you can either drop it off at your local post office or shipping carrier location or schedule a pickup. Many carriers offer convenient pickup services, which can save you time and effort.
#### Benefits of Using Poly Mailers
Using poly mailers for shipping comes with several advantages. They are lightweight, which can significantly reduce shipping costs, especially for businesses that ship items frequently. Their waterproof nature protects contents from rain and spills, ensuring that items arrive in excellent condition. Additionally, poly mailers are often more cost-effective than boxes, making them a budget-friendly option for small businesses and individual sellers.
#### Conclusion
In summary, poly mailers are an efficient and practical solution for shipping a variety of items. By following the steps outlined above, you can ensure that your items are packed securely and arrive at their destination safely. Whether you are a small business owner or an individual looking to send a package, mastering the use of poly mailers can streamline your shipping process and enhance your overall experience. So, the next time you need to send something, consider using a poly mailer for a hassle-free shipping solution!
Post time: Apr-27-2026